


-

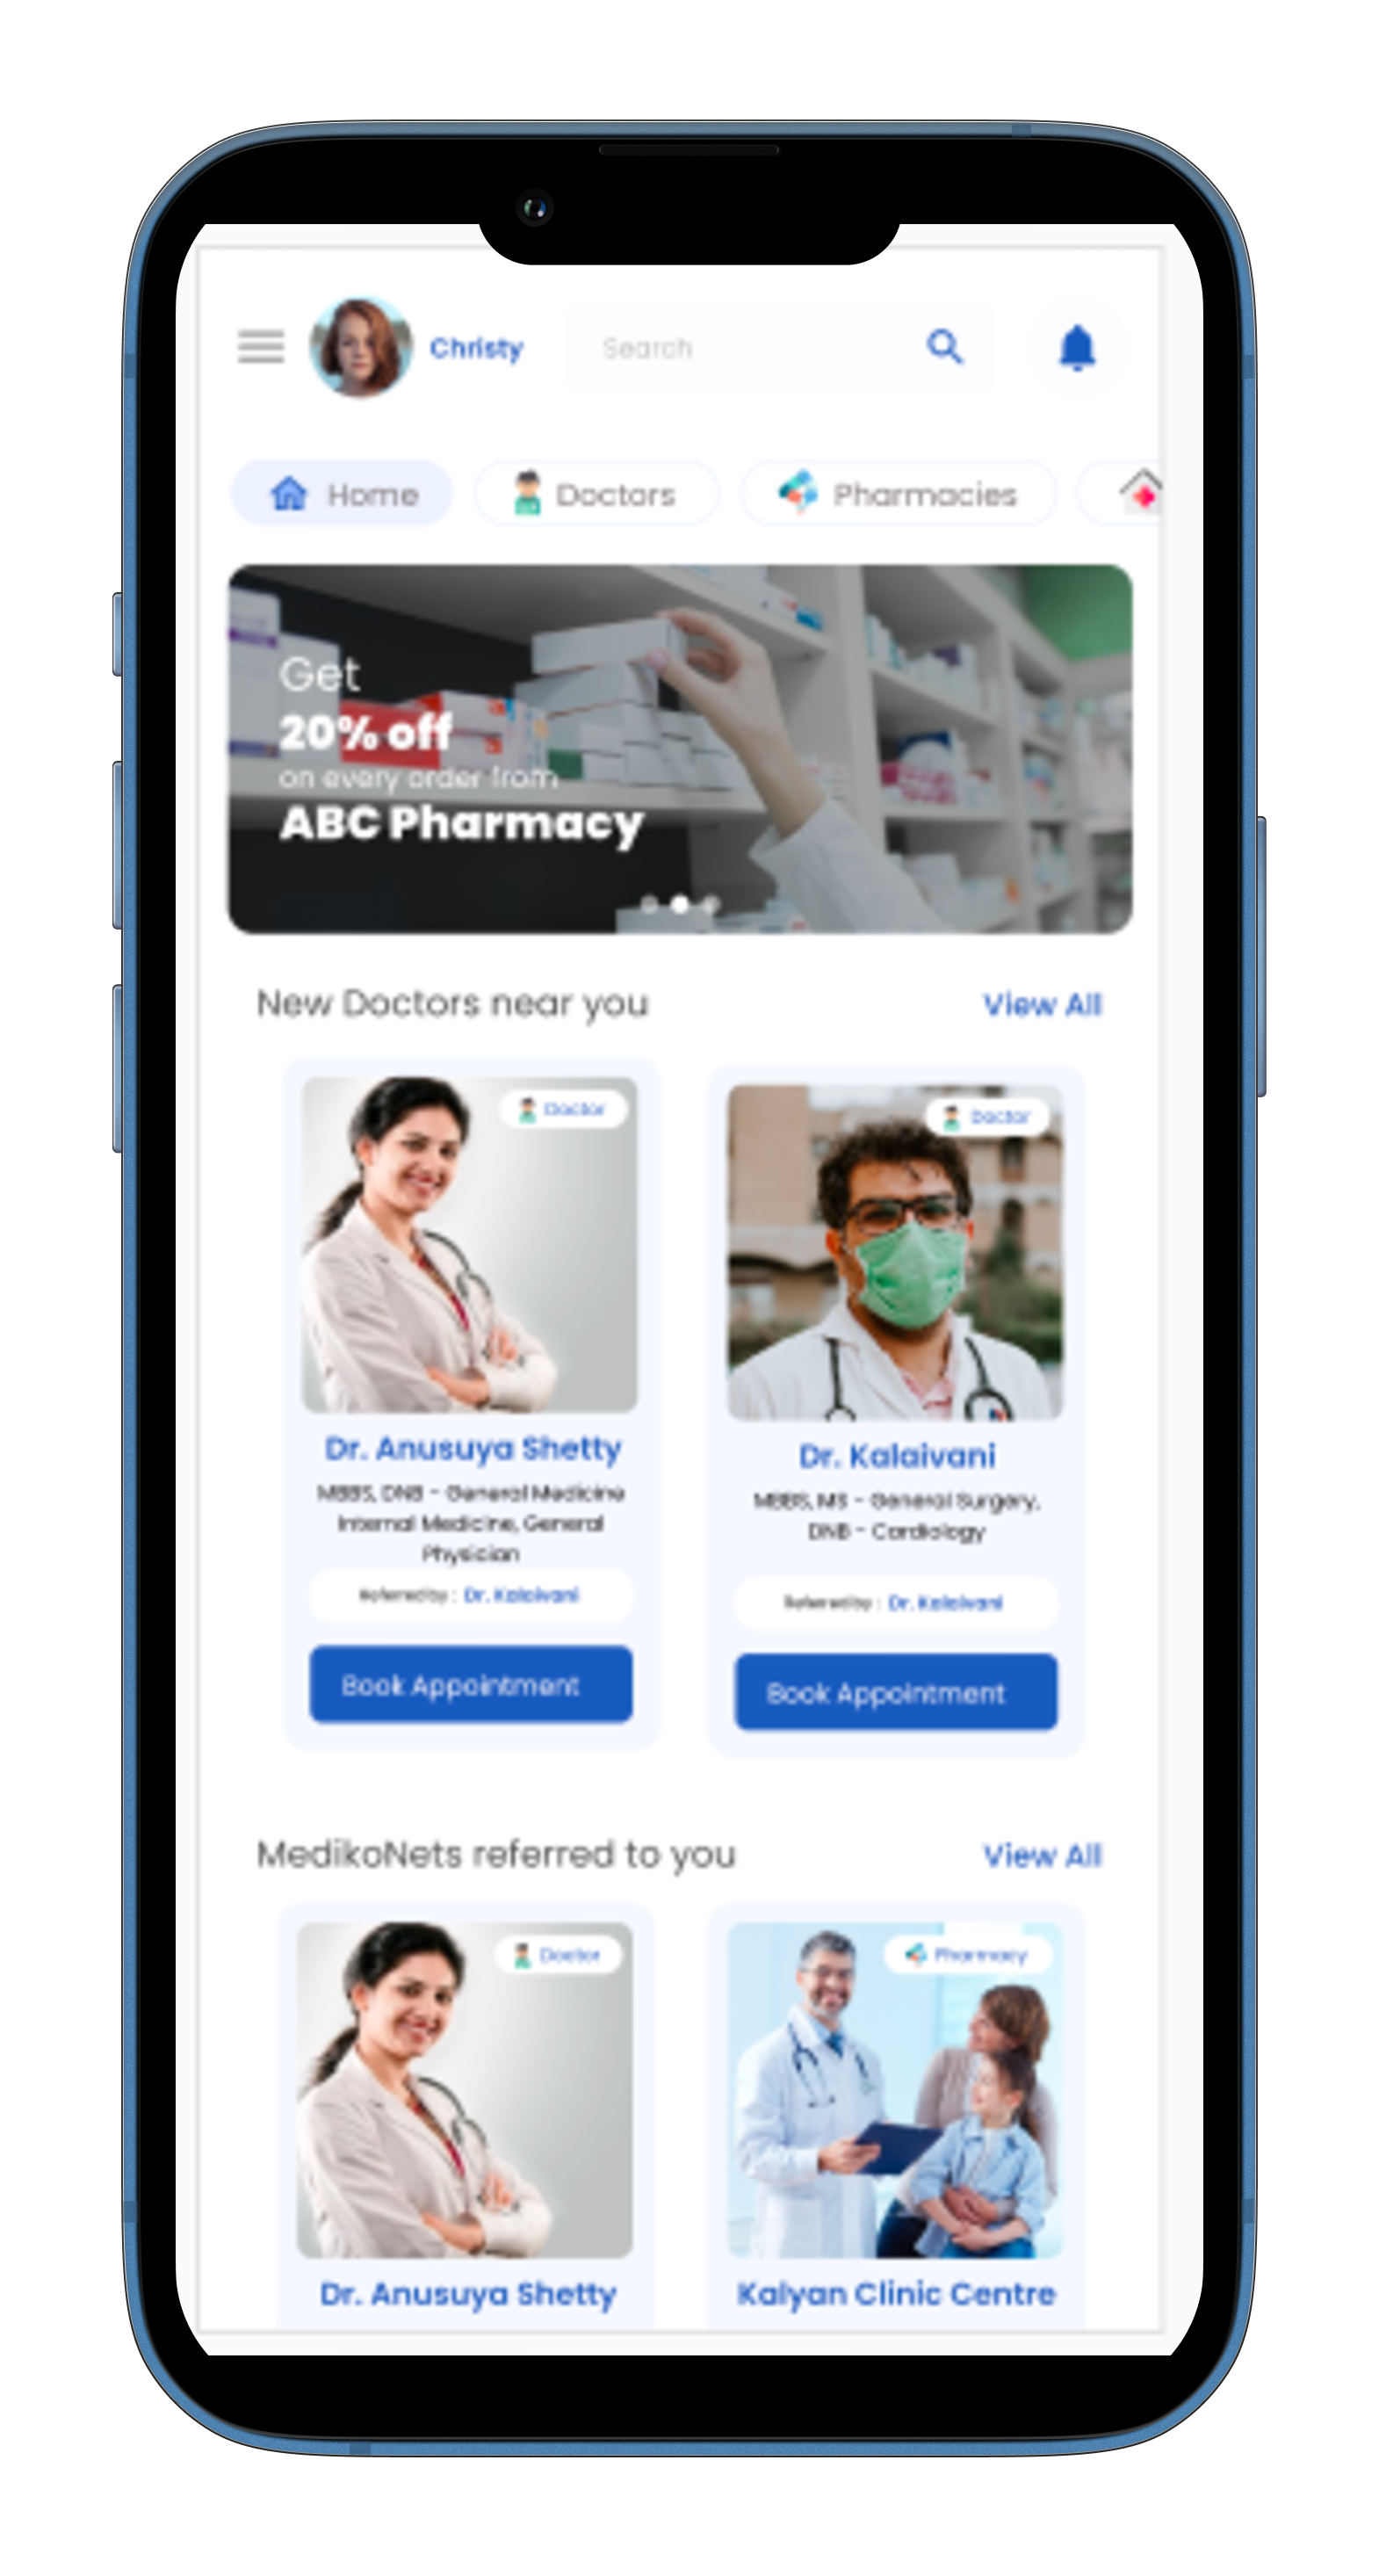
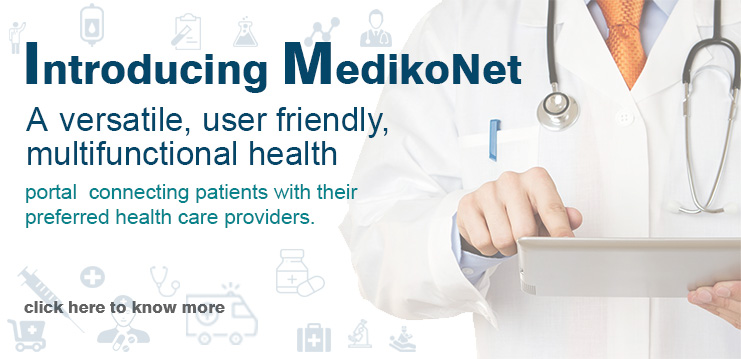
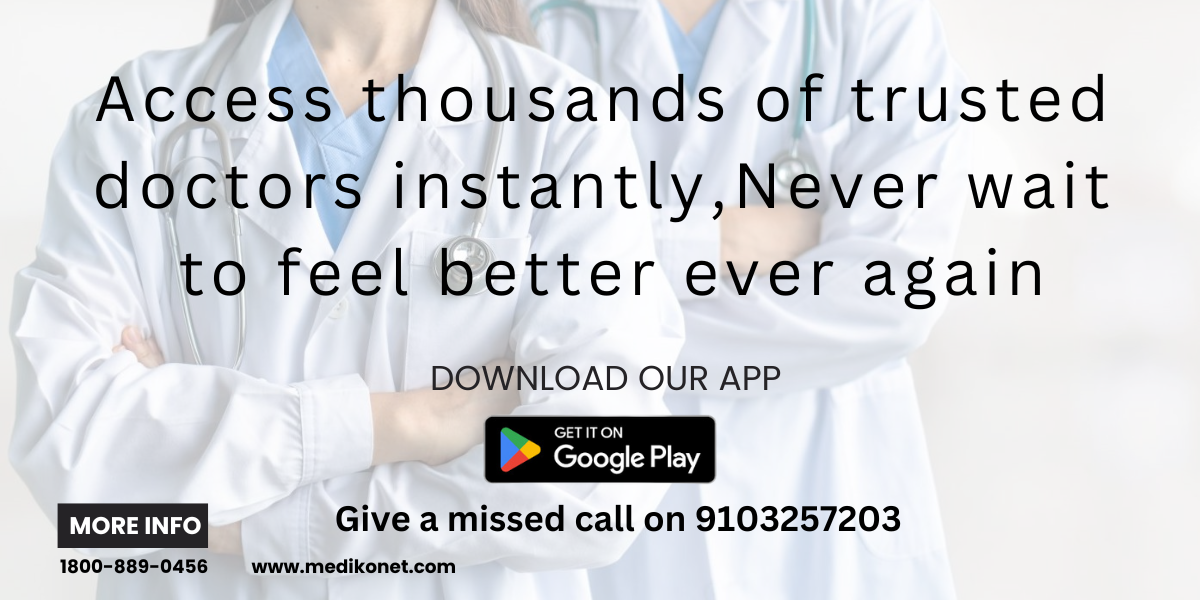
You now have a true ‘24 X7, One Stop Shop’ for all your health service needs
-

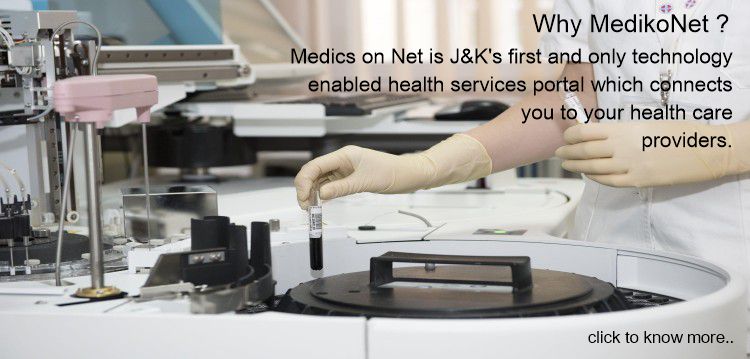
We provide a multi functional, all encompassing health portal which allows doctor-patient interaction in a professional, user friendly manner without usual hiccups and hurdles.
-

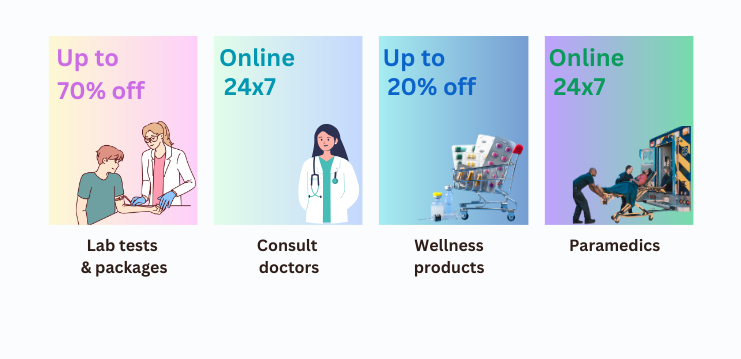
MedikoNet caters to a wider range of health care givers which include our doctors, pharmacies, diagnostic labs, physiotherapists, alternate medicine specialists, para medics and others.
-

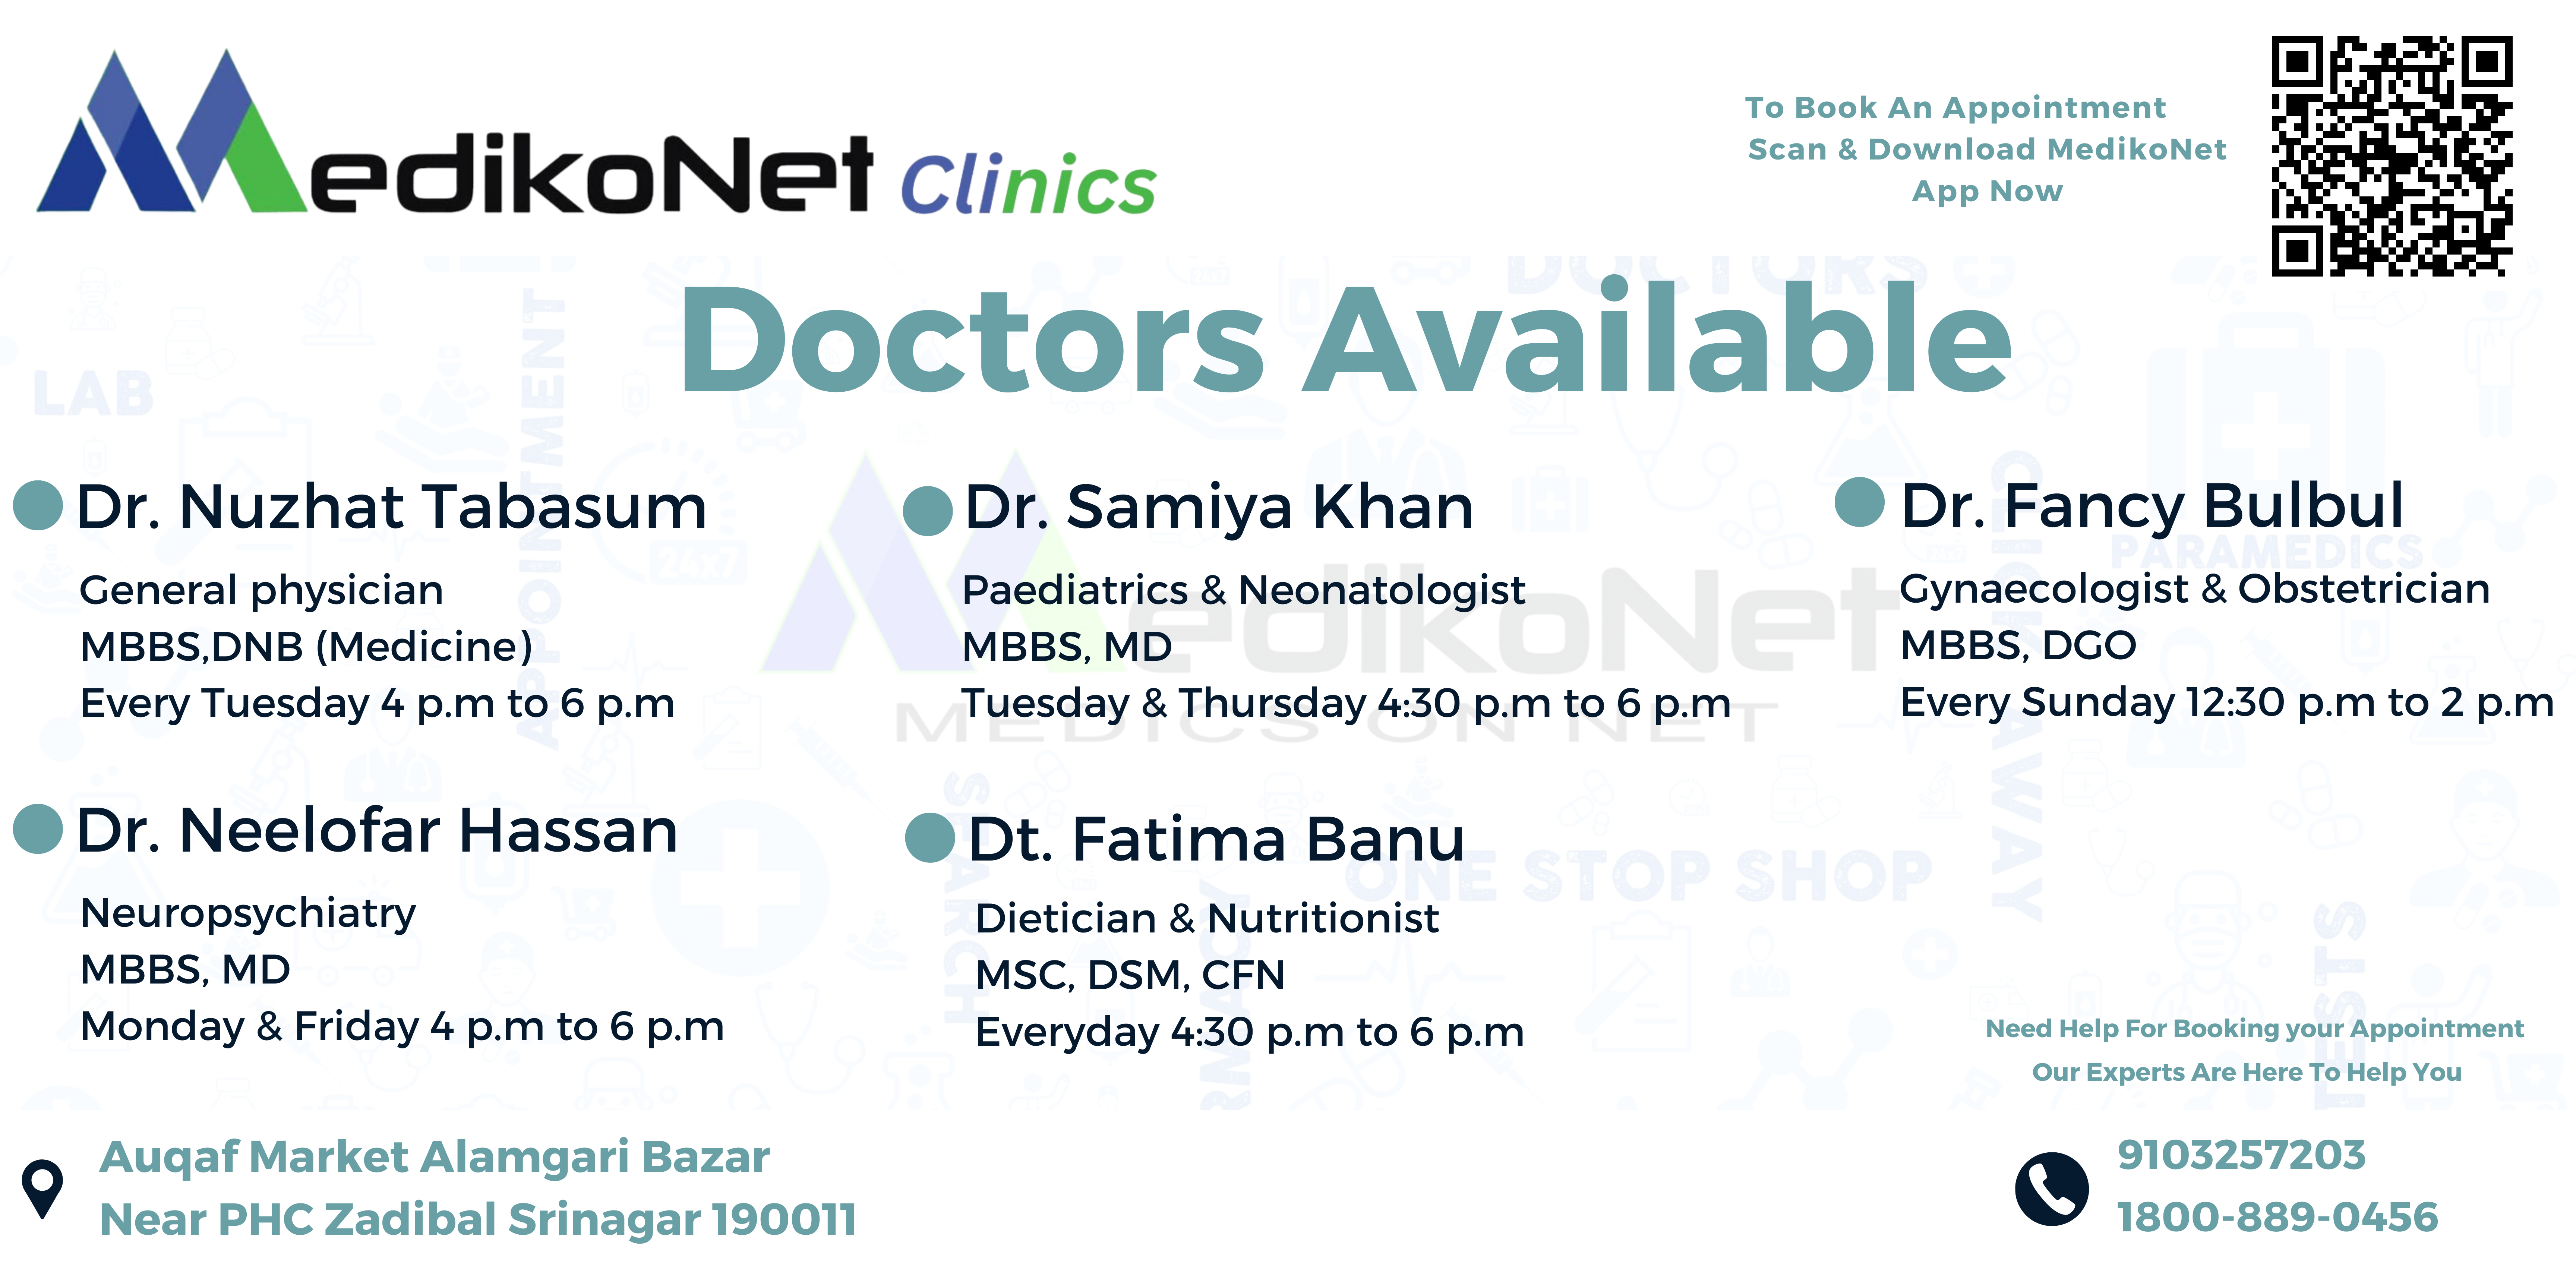
You can Find a specialized doctor near you and view his availability for your chosen date and time.
-

Choose a healthcare service provider according to his geo-location, ratings and credentials.
-

MedikoNet helps you to manage appointments and follow-ups.
-

You will have your personalized space “My MedikoNet” where you can manage your medical history with paperless prescriptions and reports.
-

MedikoNet provides Guaranteed appointments with your preferred doctors as per your convenience.
-

You can also choose a convenience of online consultations through chat, phone call or videoconference.
-

You can book your diagnostic tests online with facility of home collection of samples for some specified tests.
-

You could also get your medicines delivered online from leading pharmacies on discounted rates.
-

Last but not the least, you now have the power of a revolutionary health portal that can change the way we manage our health and bring in smiles.